So the last time I posted here was last November. I have to say I am impressed that the page still gets views. That being said I think it’s time to give people something to view again. If you’re wondering about the hiatus it was primarily cause I had started a job in shipping at Christmas time last year which lead to a crazy schedule. So I stopped posting cause I didn’t have time but, also as a way of saying I wasn’t doing commissions. I know, I could have just posted that but where is the fun in that. This time I’ll post about it when I’m ready to start accepting more commissions again. Currently working one, not sure I’m ready for more.
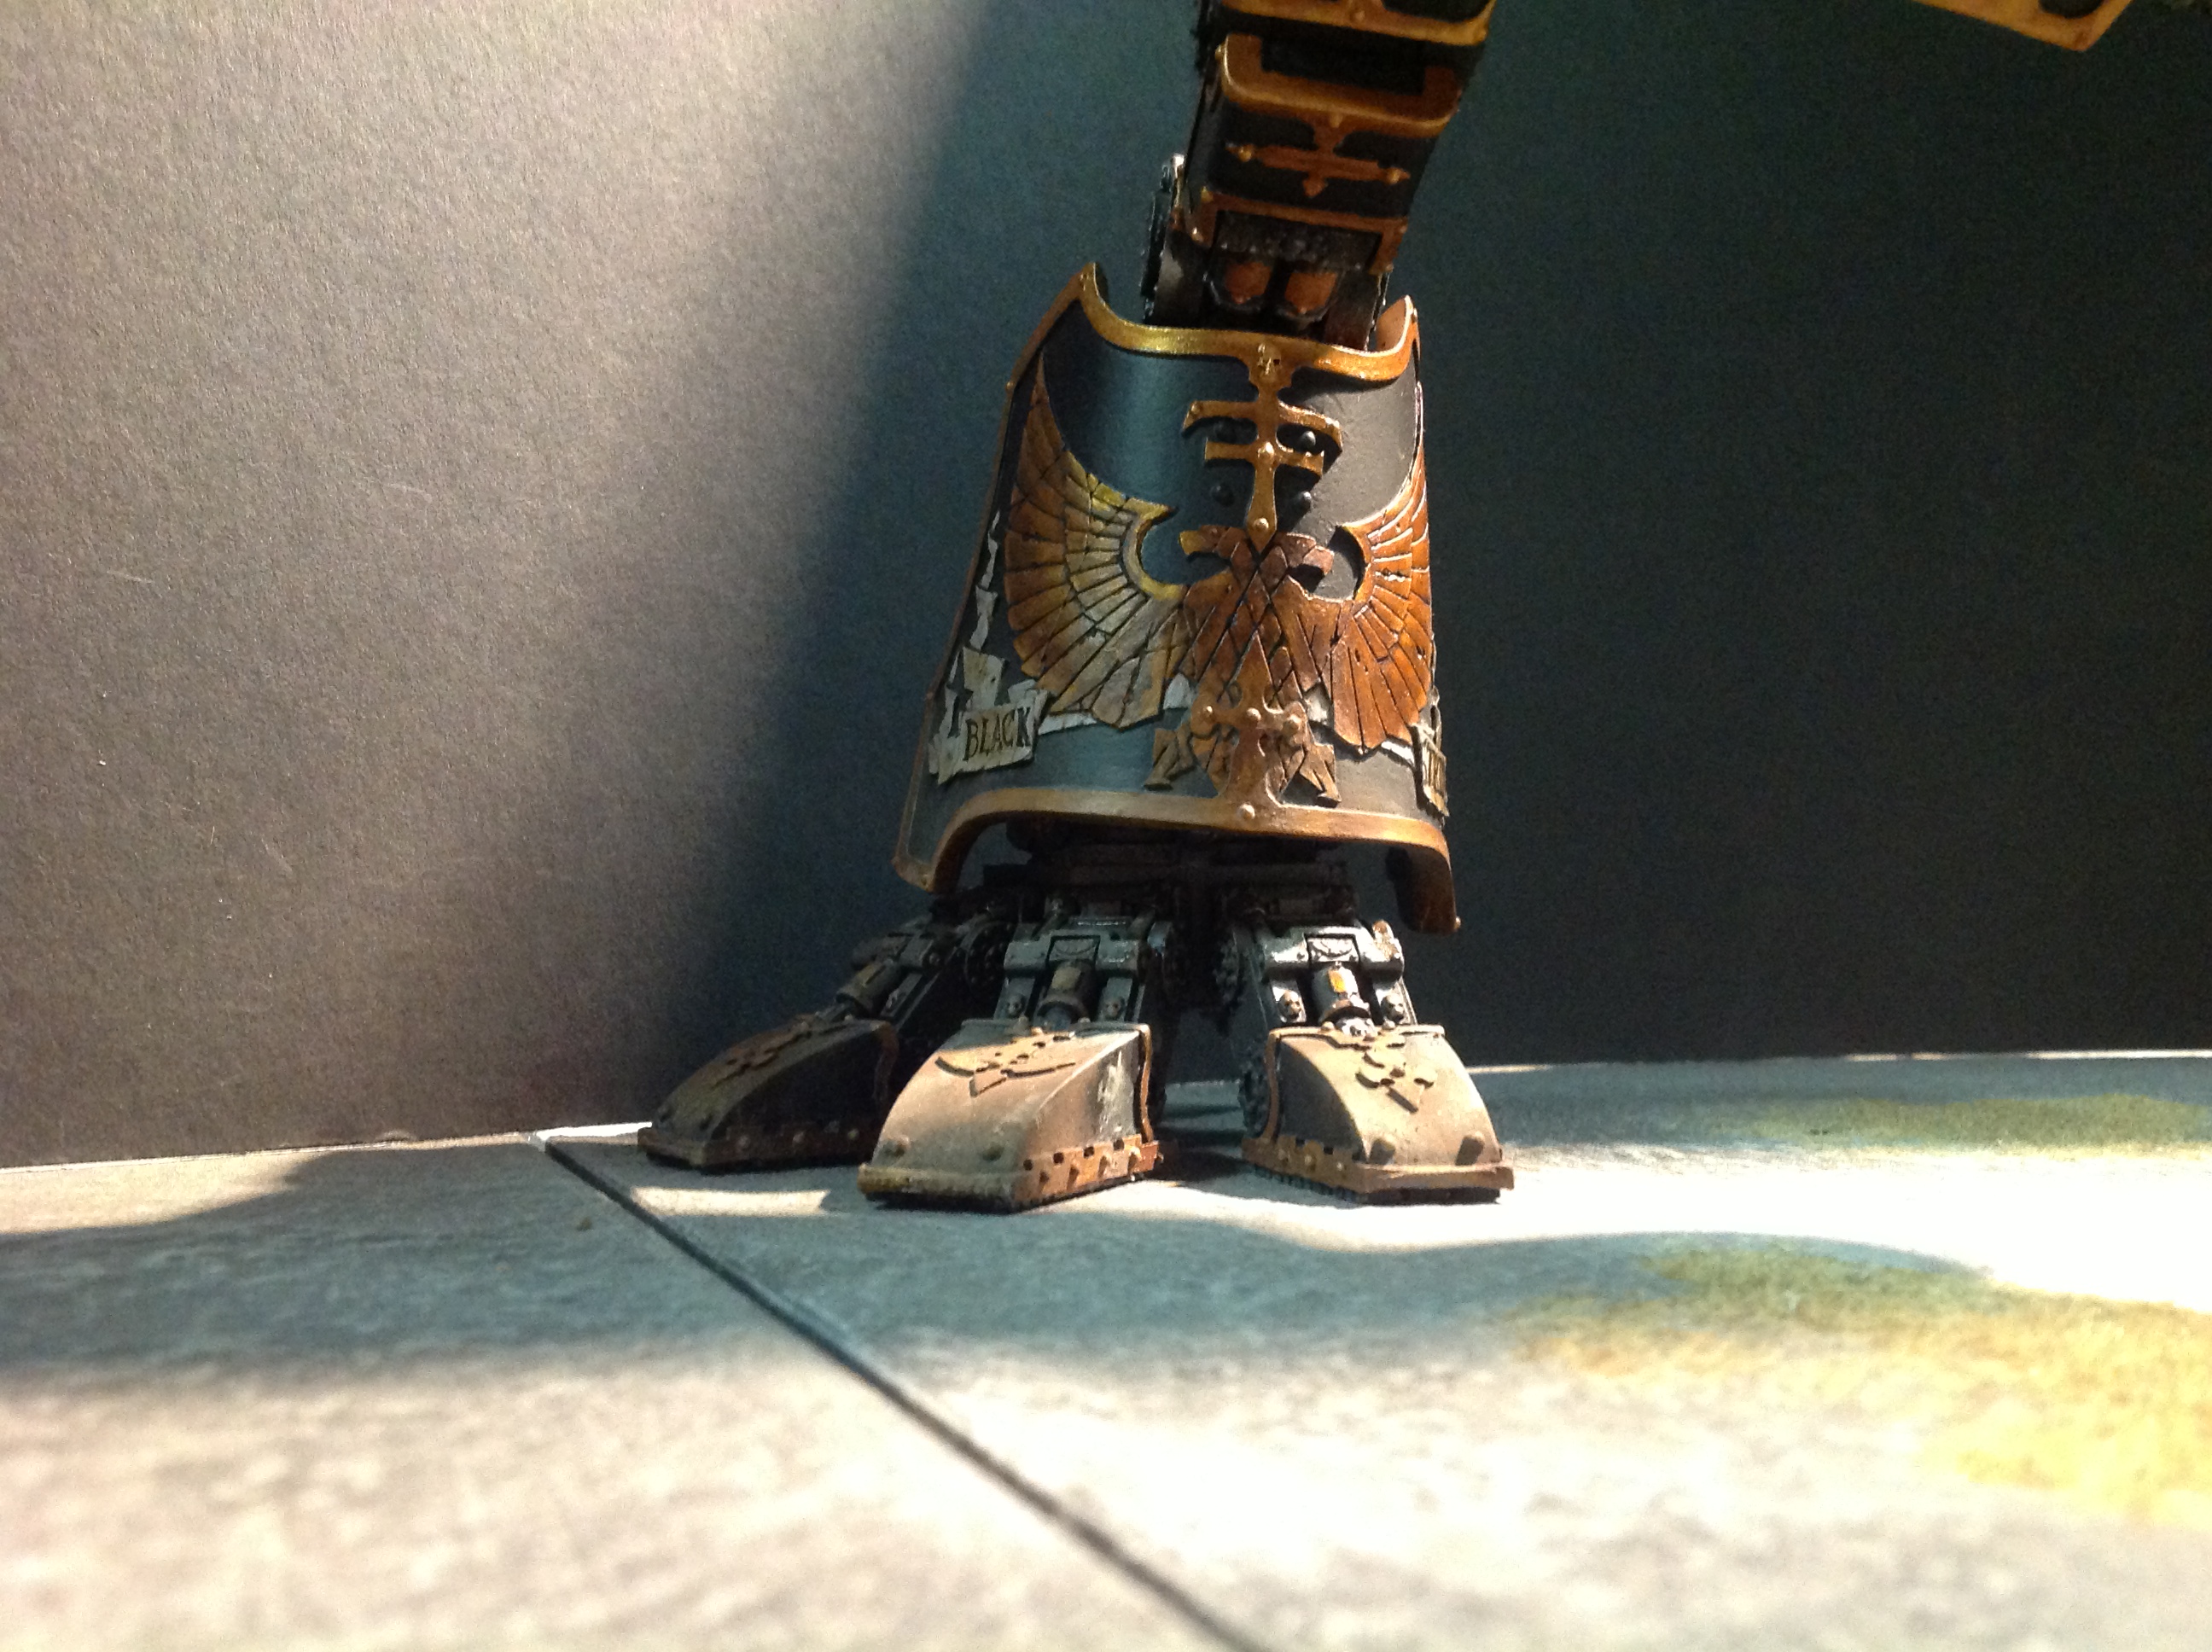
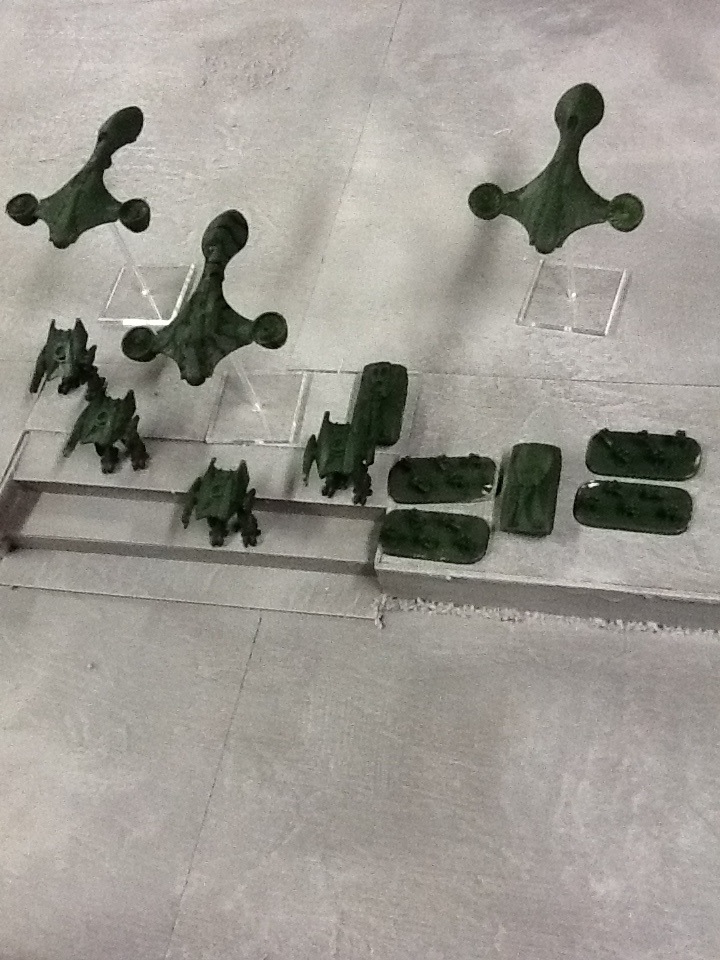
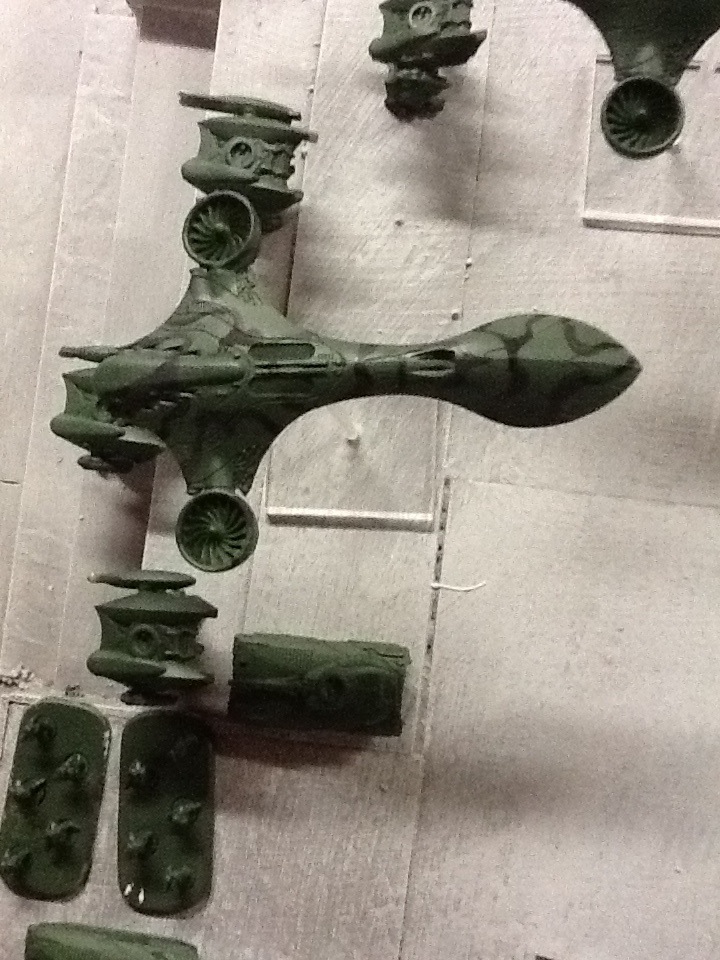
So now that I’ve chatted your ear off I’ll give you some pics of the Titan I’ve been painting. Honestly I’ve been working on this for longer than I’ve had this blog. Sometimes my projects sit around if I’m not sure what to do with them. Then something will come along and inspire me to finish them. In this case it was the new Apocalypse book.
The black was achieved with model masters flat black and interior aircraft lightly airbrushed to fade into each other. The gold was done with GW colors with some burn umber oil rubs on the gold eagle. Lots of weathering powder on the feet and that’s pretty much where it’s at. I just need to print out a decal from my legion on decal paper and put that on.
One final note. You may notice that the quality of the images is not as good as in the past. That’s because I’m using my iPad to take these photos. It makes it easier and more likely for me to post the pictures as I don’t have to do any set up or tear down or photo editing. I won’t use it exclusively for photo’s but it does help.
Hope you all enjoy after so long.