So I got this kit in May for my birthday, and after two straight weeks of work I put it down and basically wasn’t sure how to finish it. I had done the main painting but I didn’t know what I wanted to do for decals and weathering or what to put on the deck. Thankfuly a painting contest at a local hobby store, Al’s Hobby Shop, inspired me to finally get this kit finished.
The downside is in that time I apparently stopped taking pictures of the work in progress. So it goes basically from being basecoated to done in the pictures I have. So I’m not going to go into too much detail on the painting.
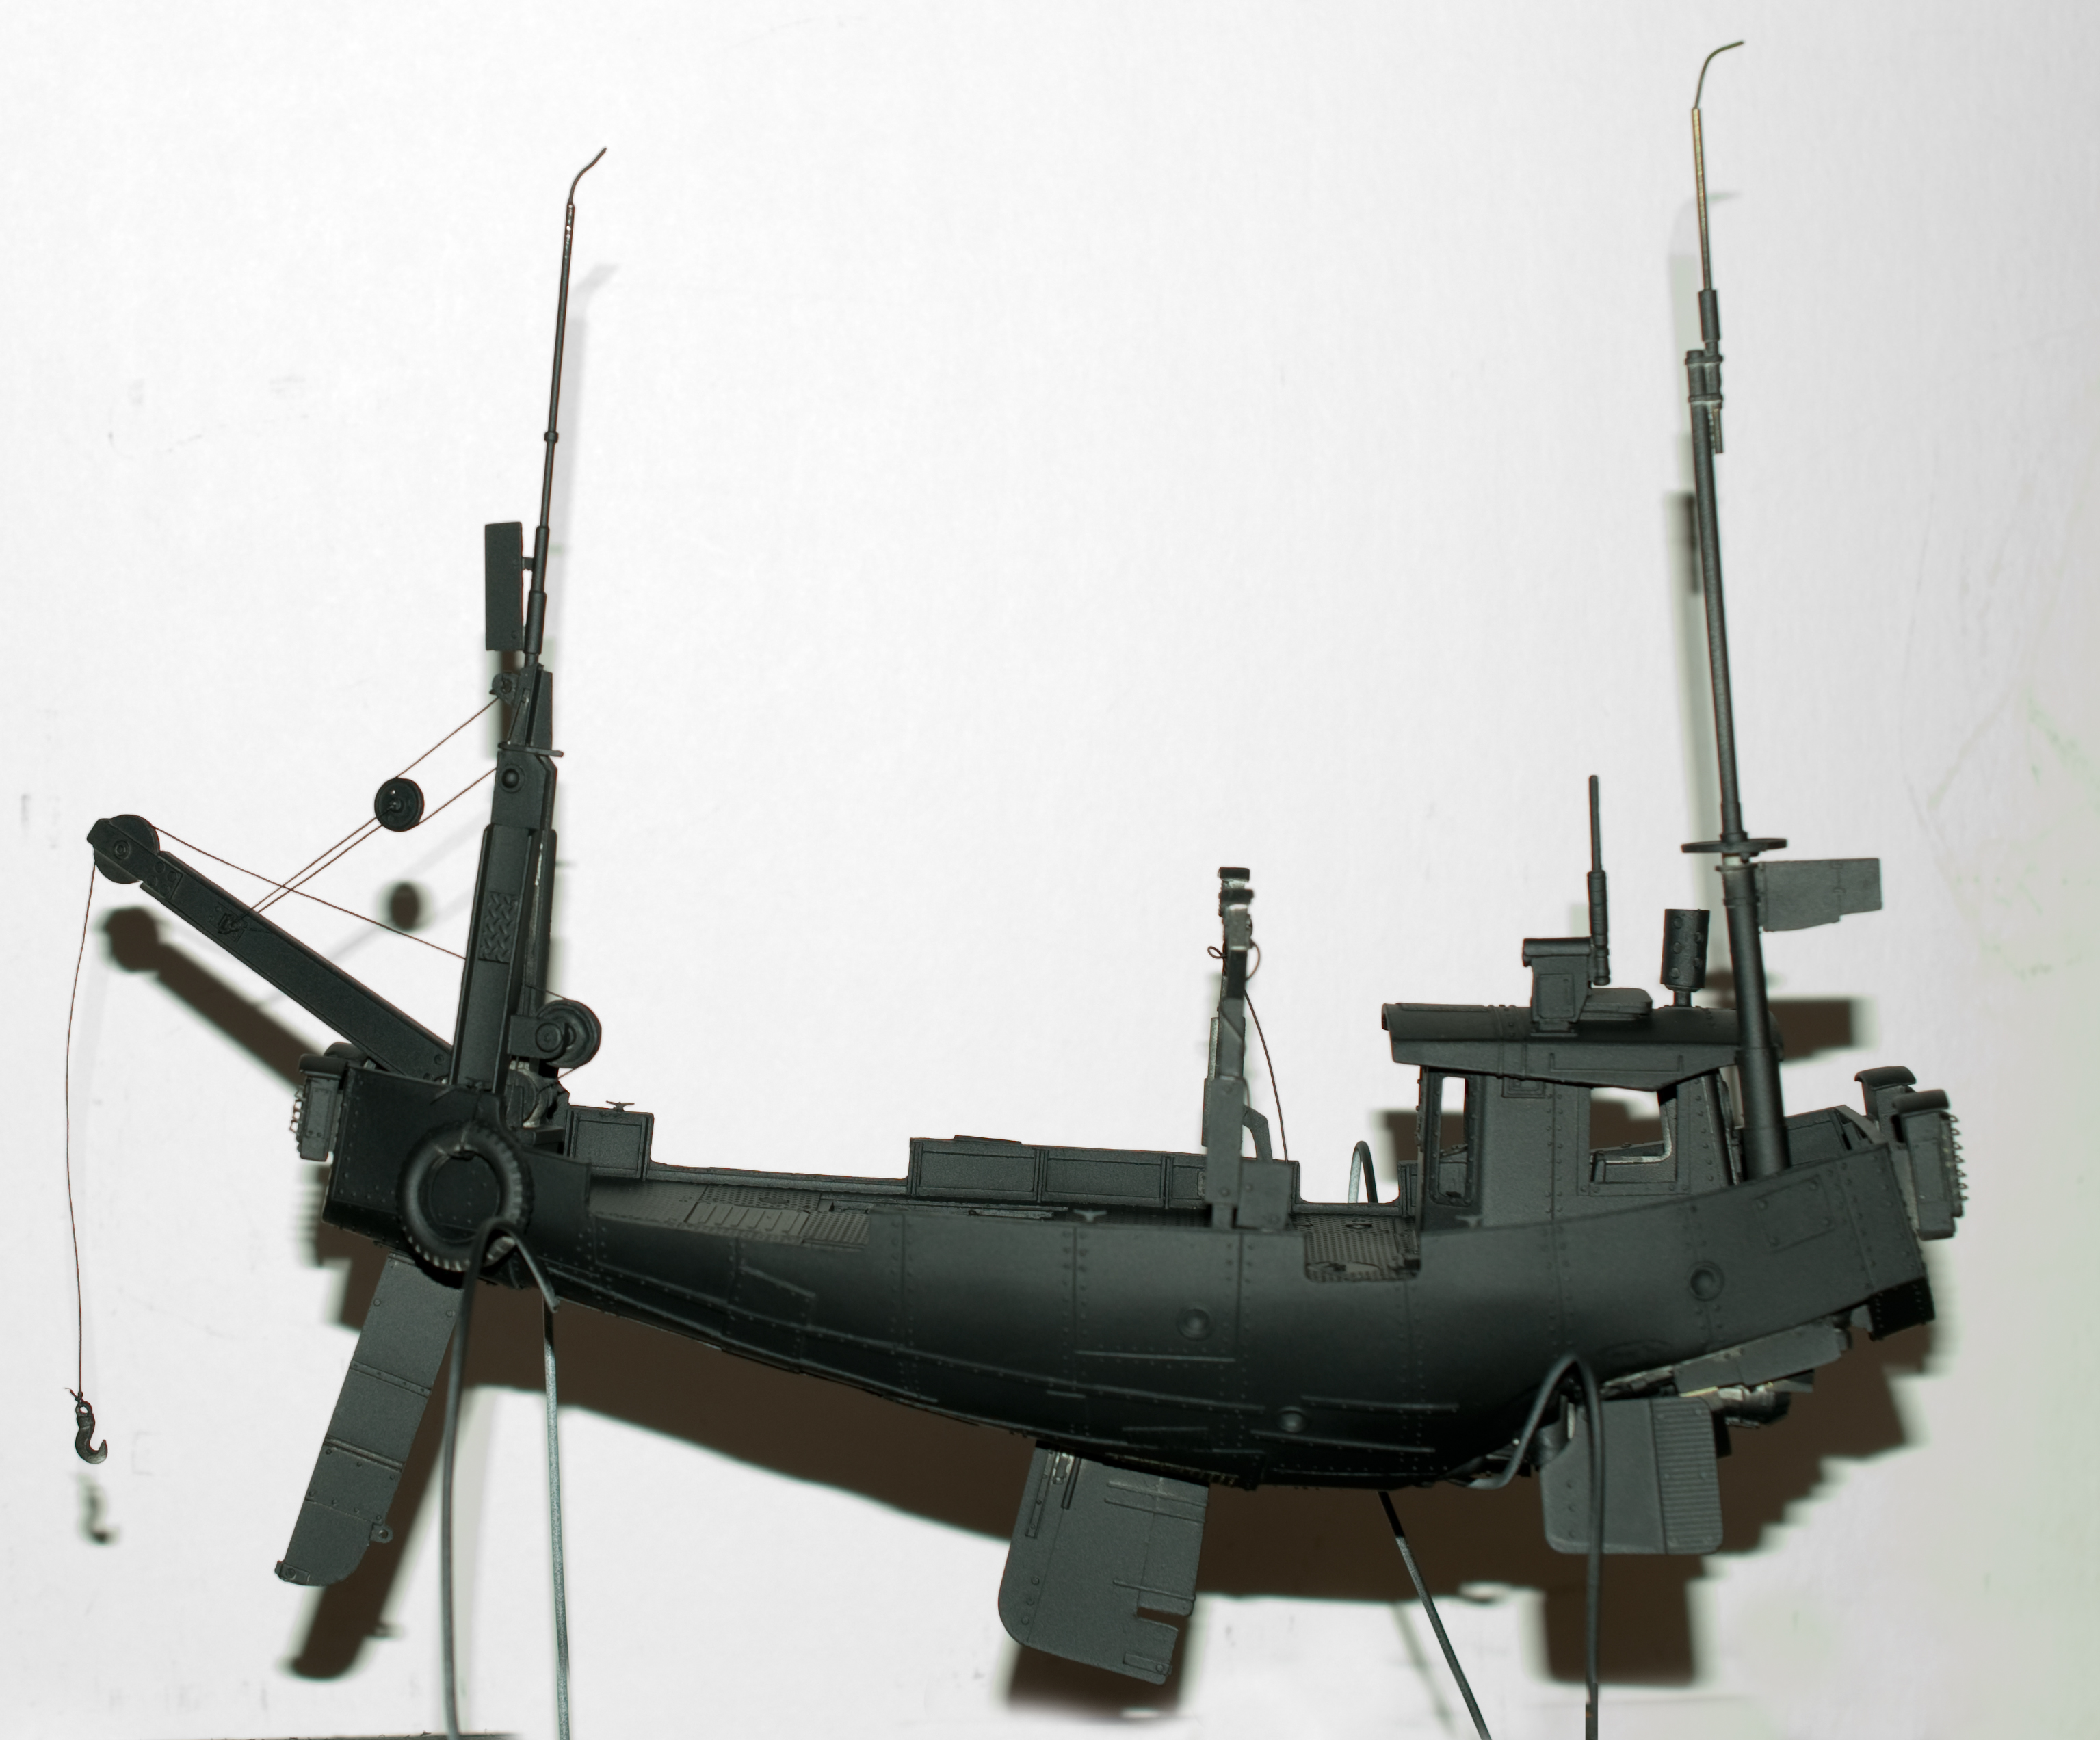
What I do want to say is what a breeze this kit was to put together. Clean up was minimal and none of the parts had any warping. I really like the resin that Industria Mechanika uses, it doesn’t seem to ever have a lot of mold release and it smells lightly of vanilla when drilling it out. The main body is a solid piece of resin which is nice cause it gives the model a great sense of weight. All the other pieces fit together fantastically.
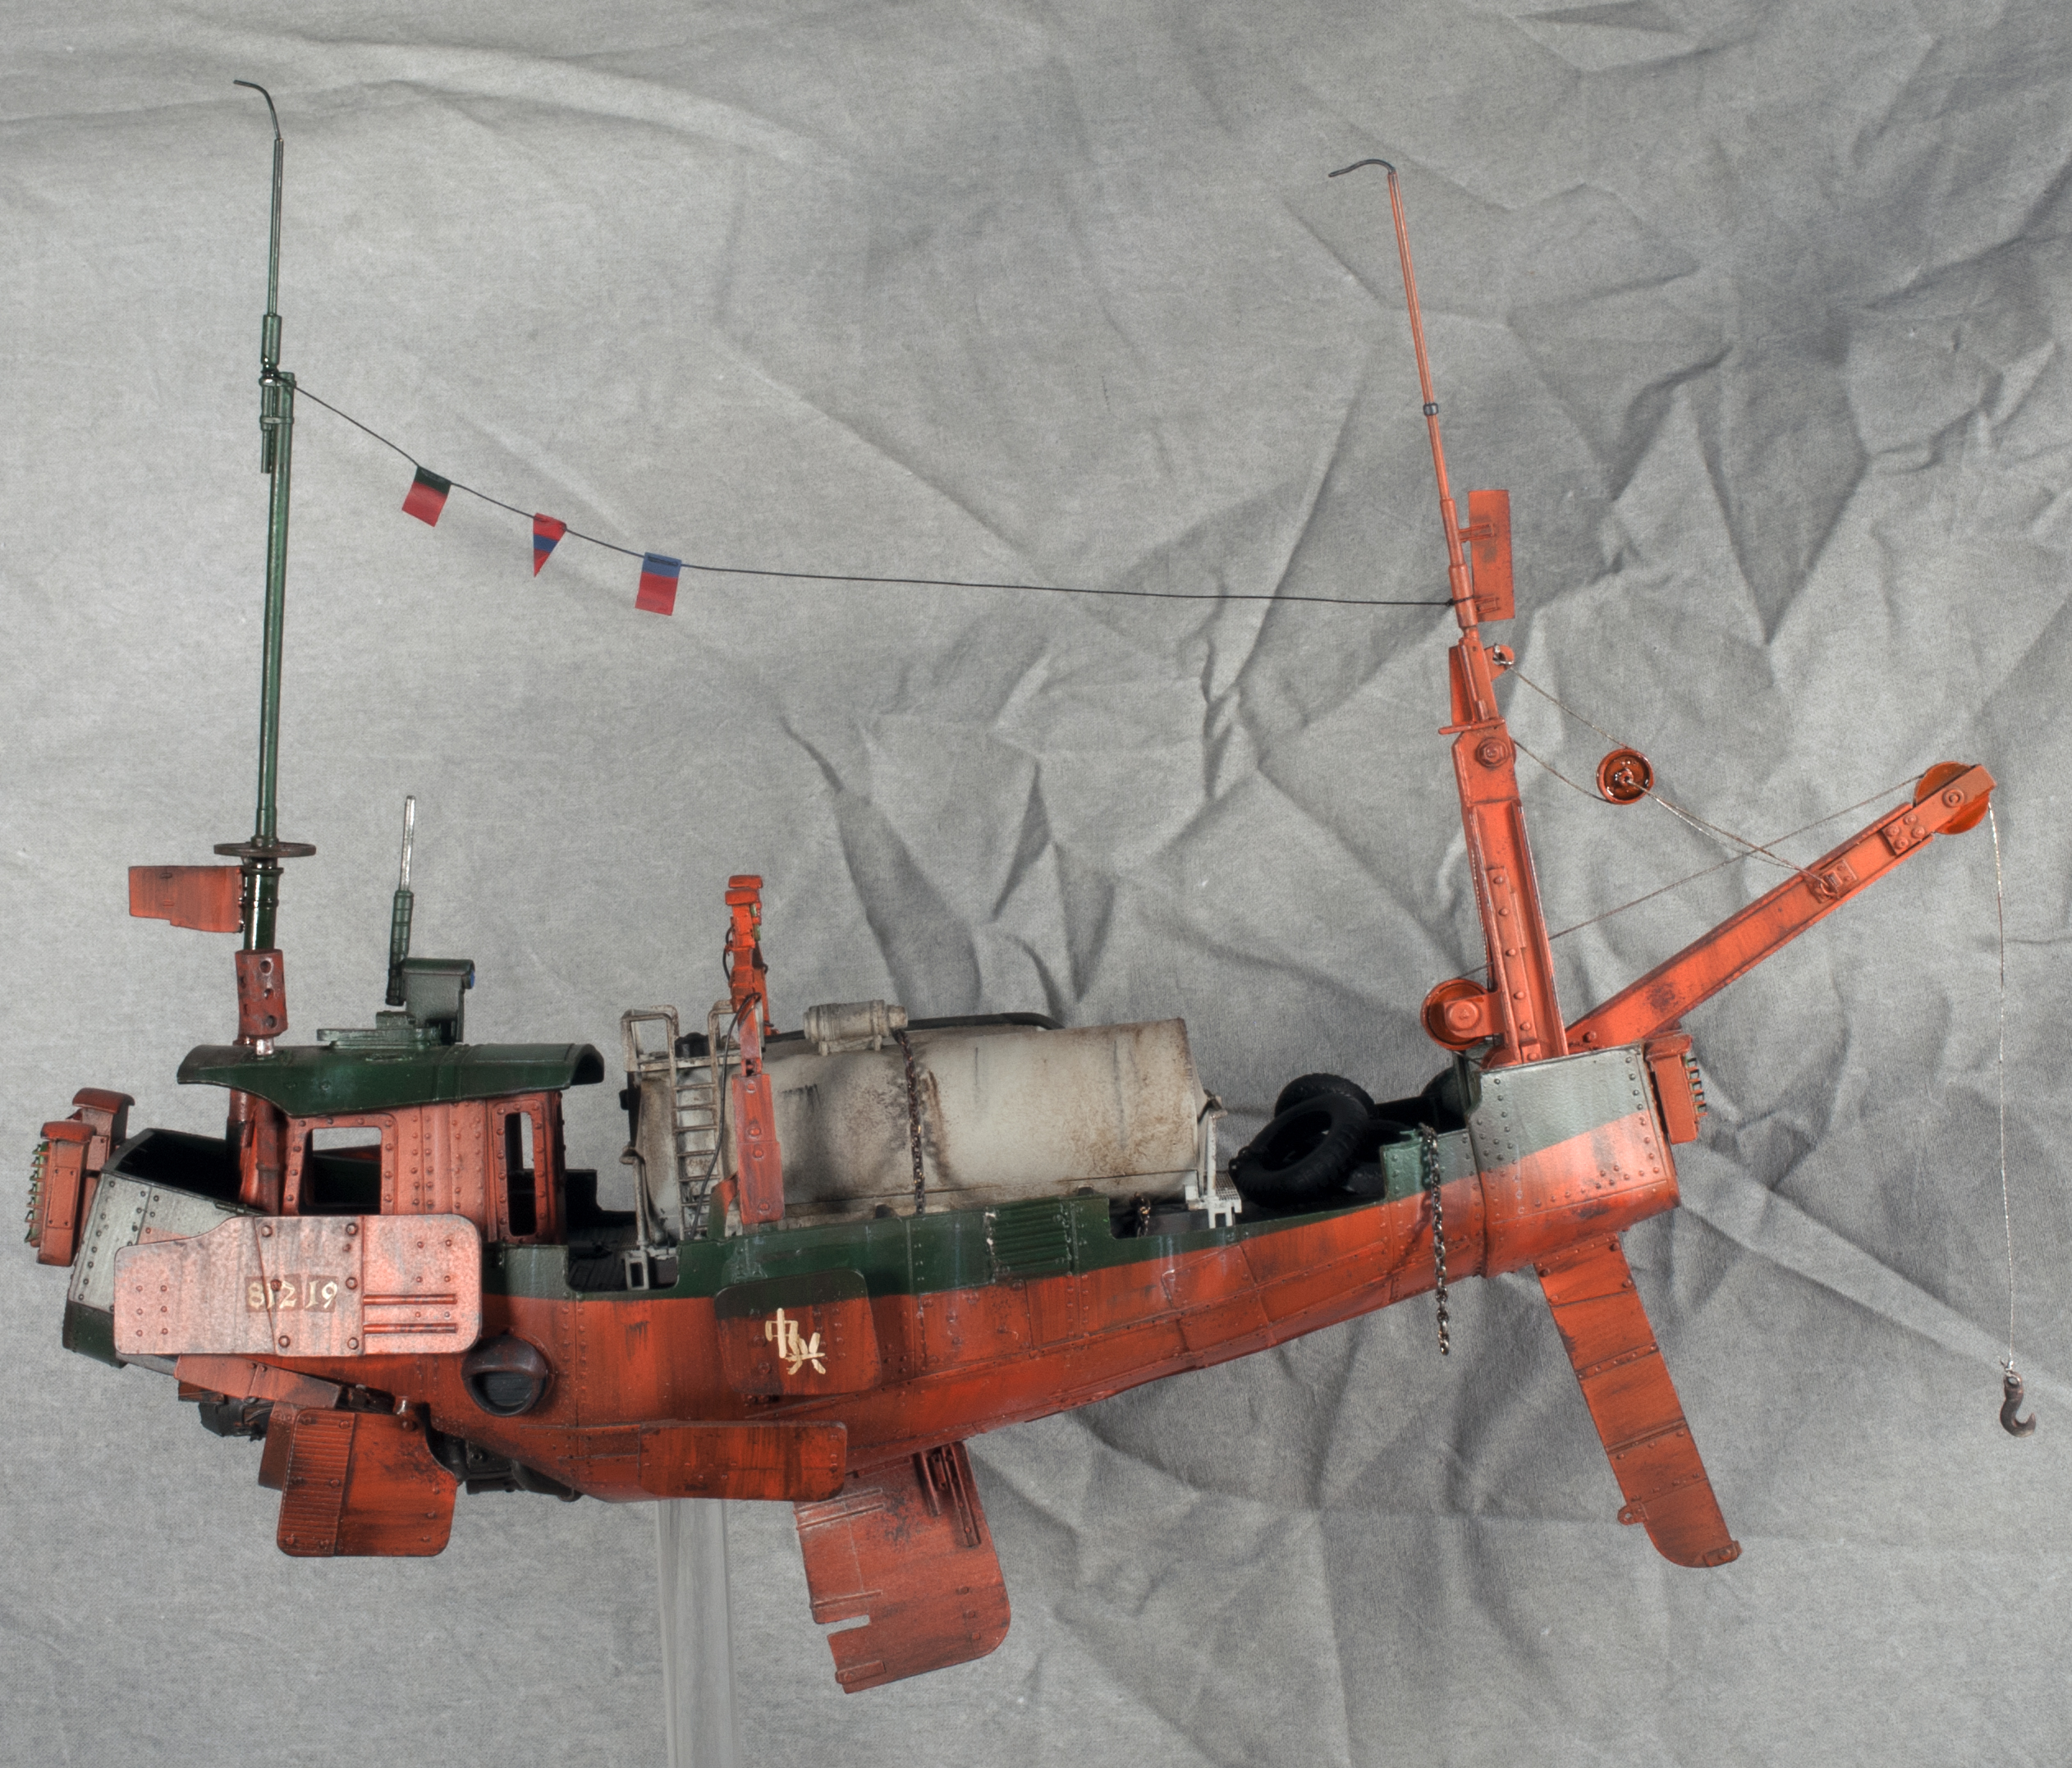
Once assembly was complete I fashioned a jig out of a board and some old coat hangars to set the model on while painting. I decided to paint it in a color scheme similar to the old Elgin Joliet & Eastern railway company. So orange and green. I airbrushed the body orange after a black primer (don’t ask me why I went from black to orange and didn’t prime white, it seems kinda stupid of me in hindsight). I masked off the lower portions of the model and airbrushed on the green.
I sponged on the chipping mixing a bit of hull red and panzer grey and then went right to the AK interactive paints for weathering. These are becoming my favorite tools for this process.
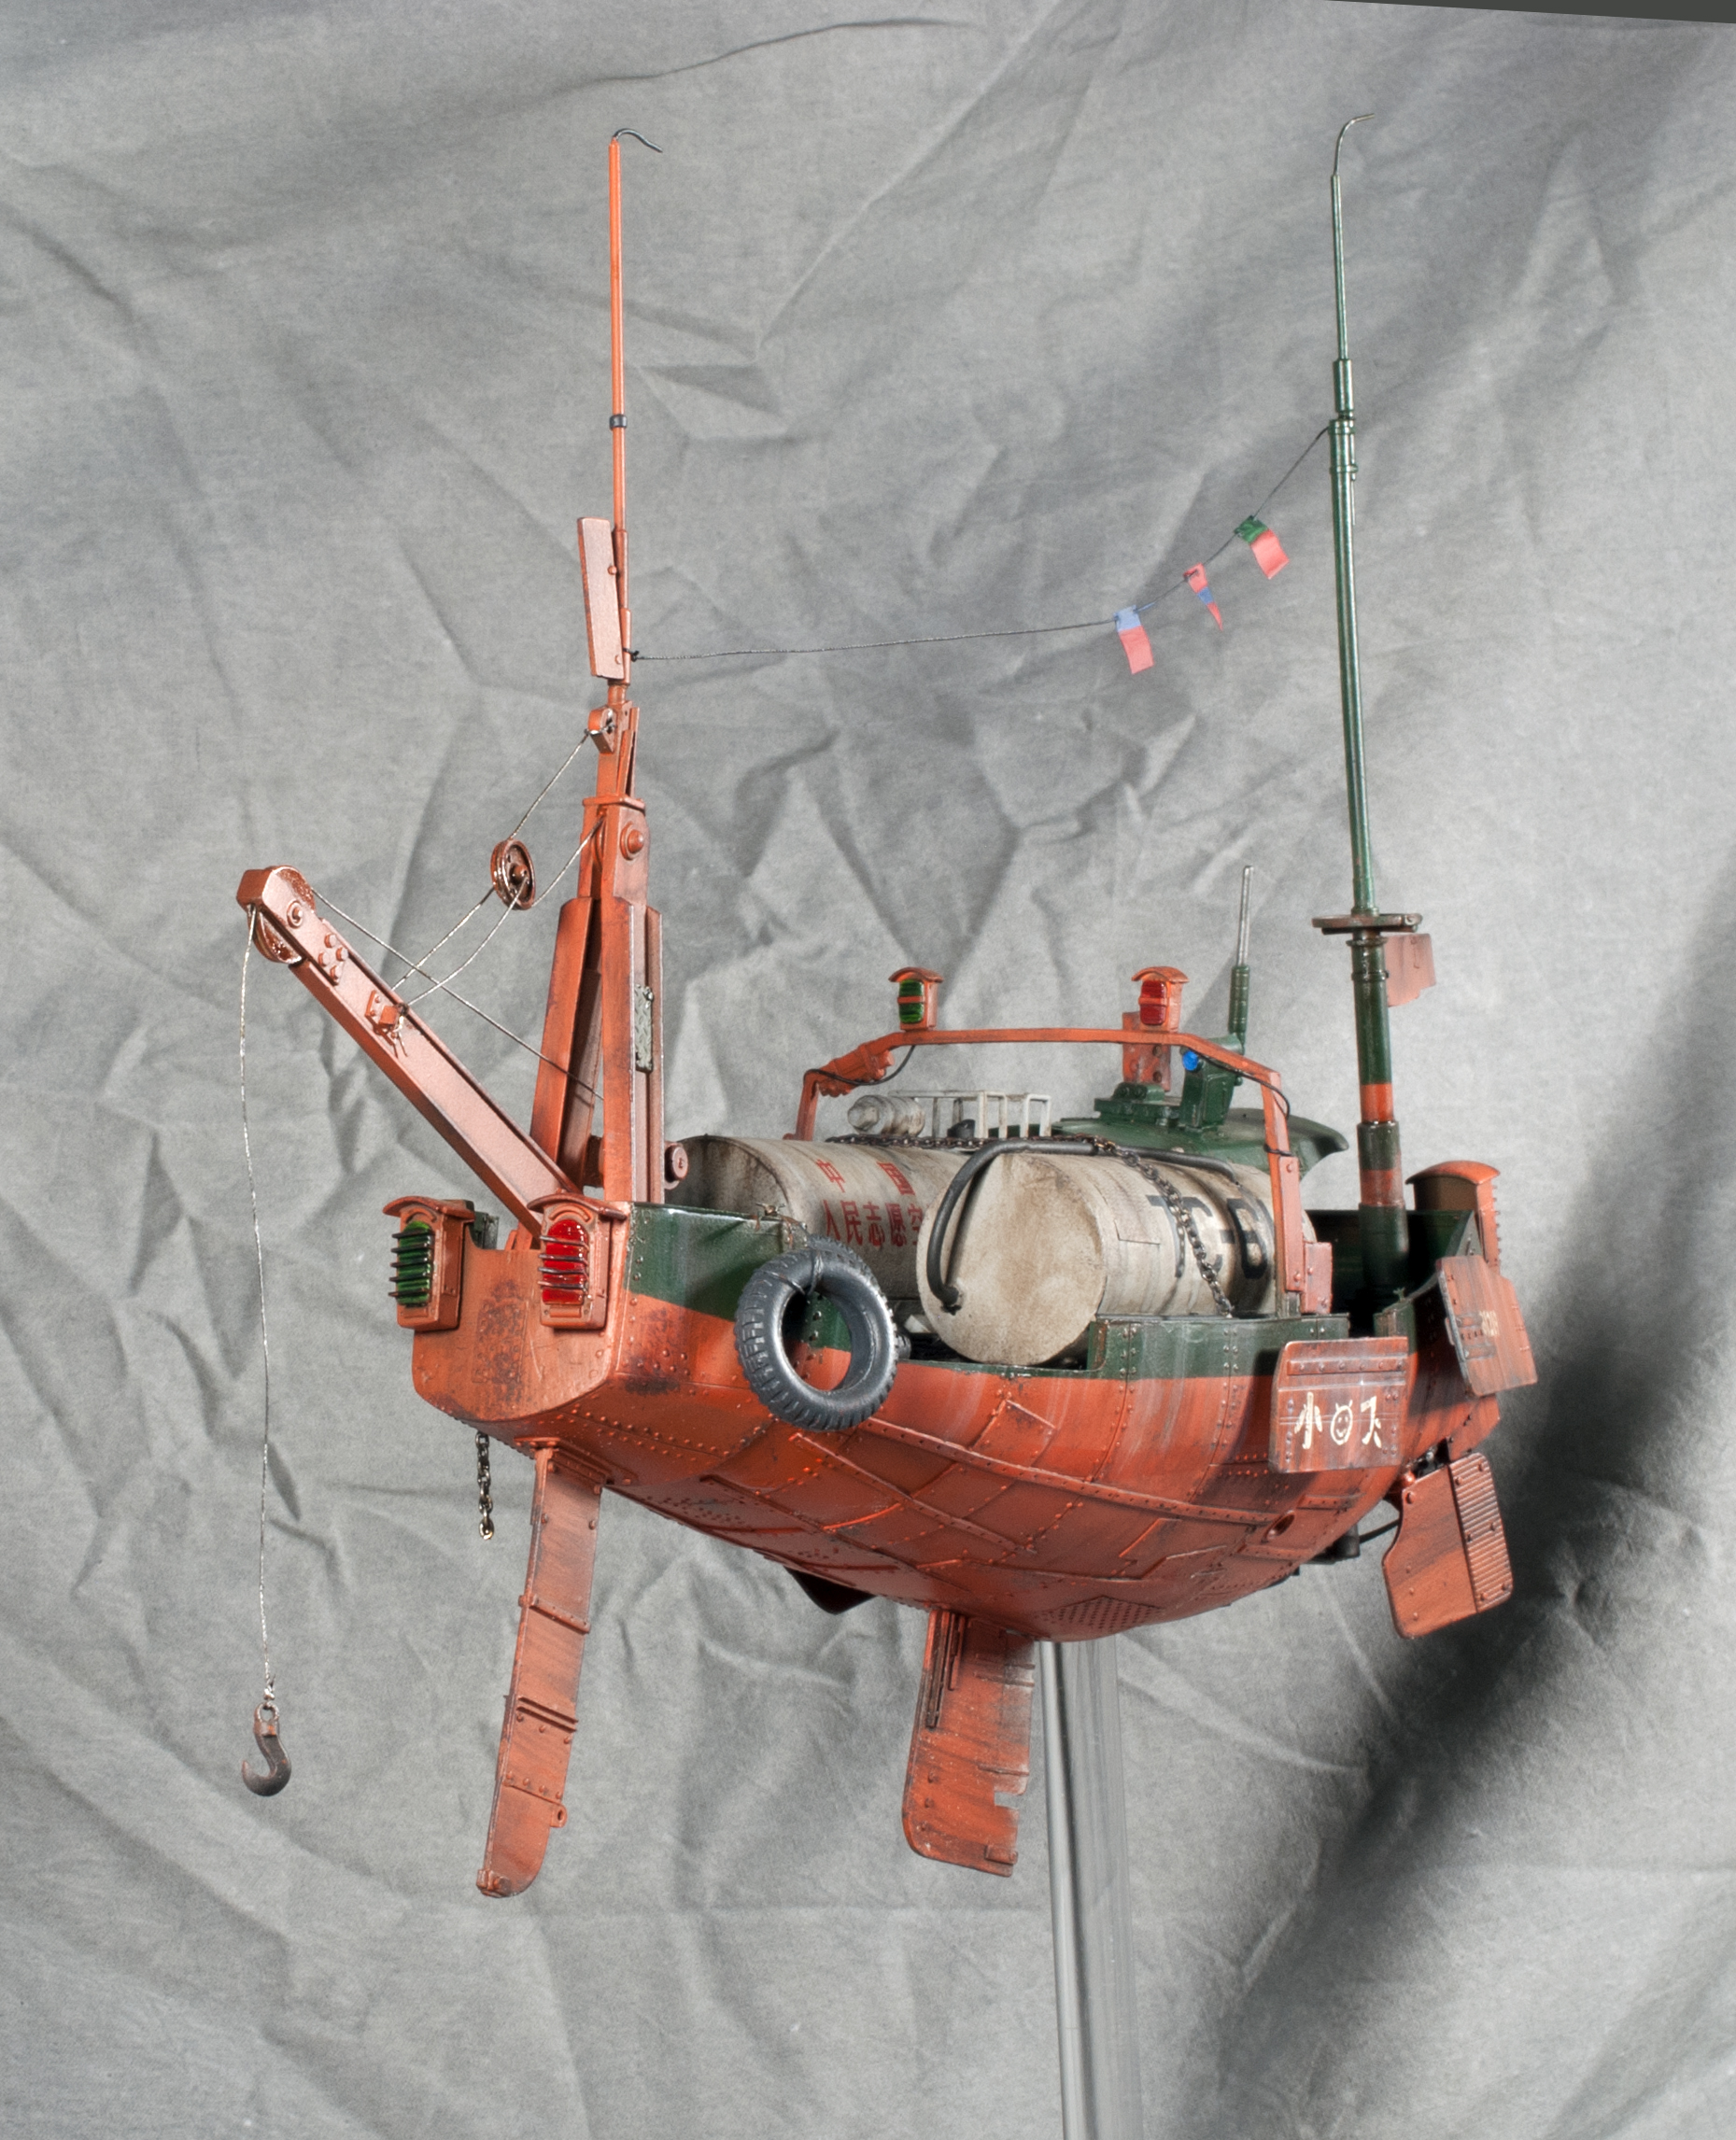
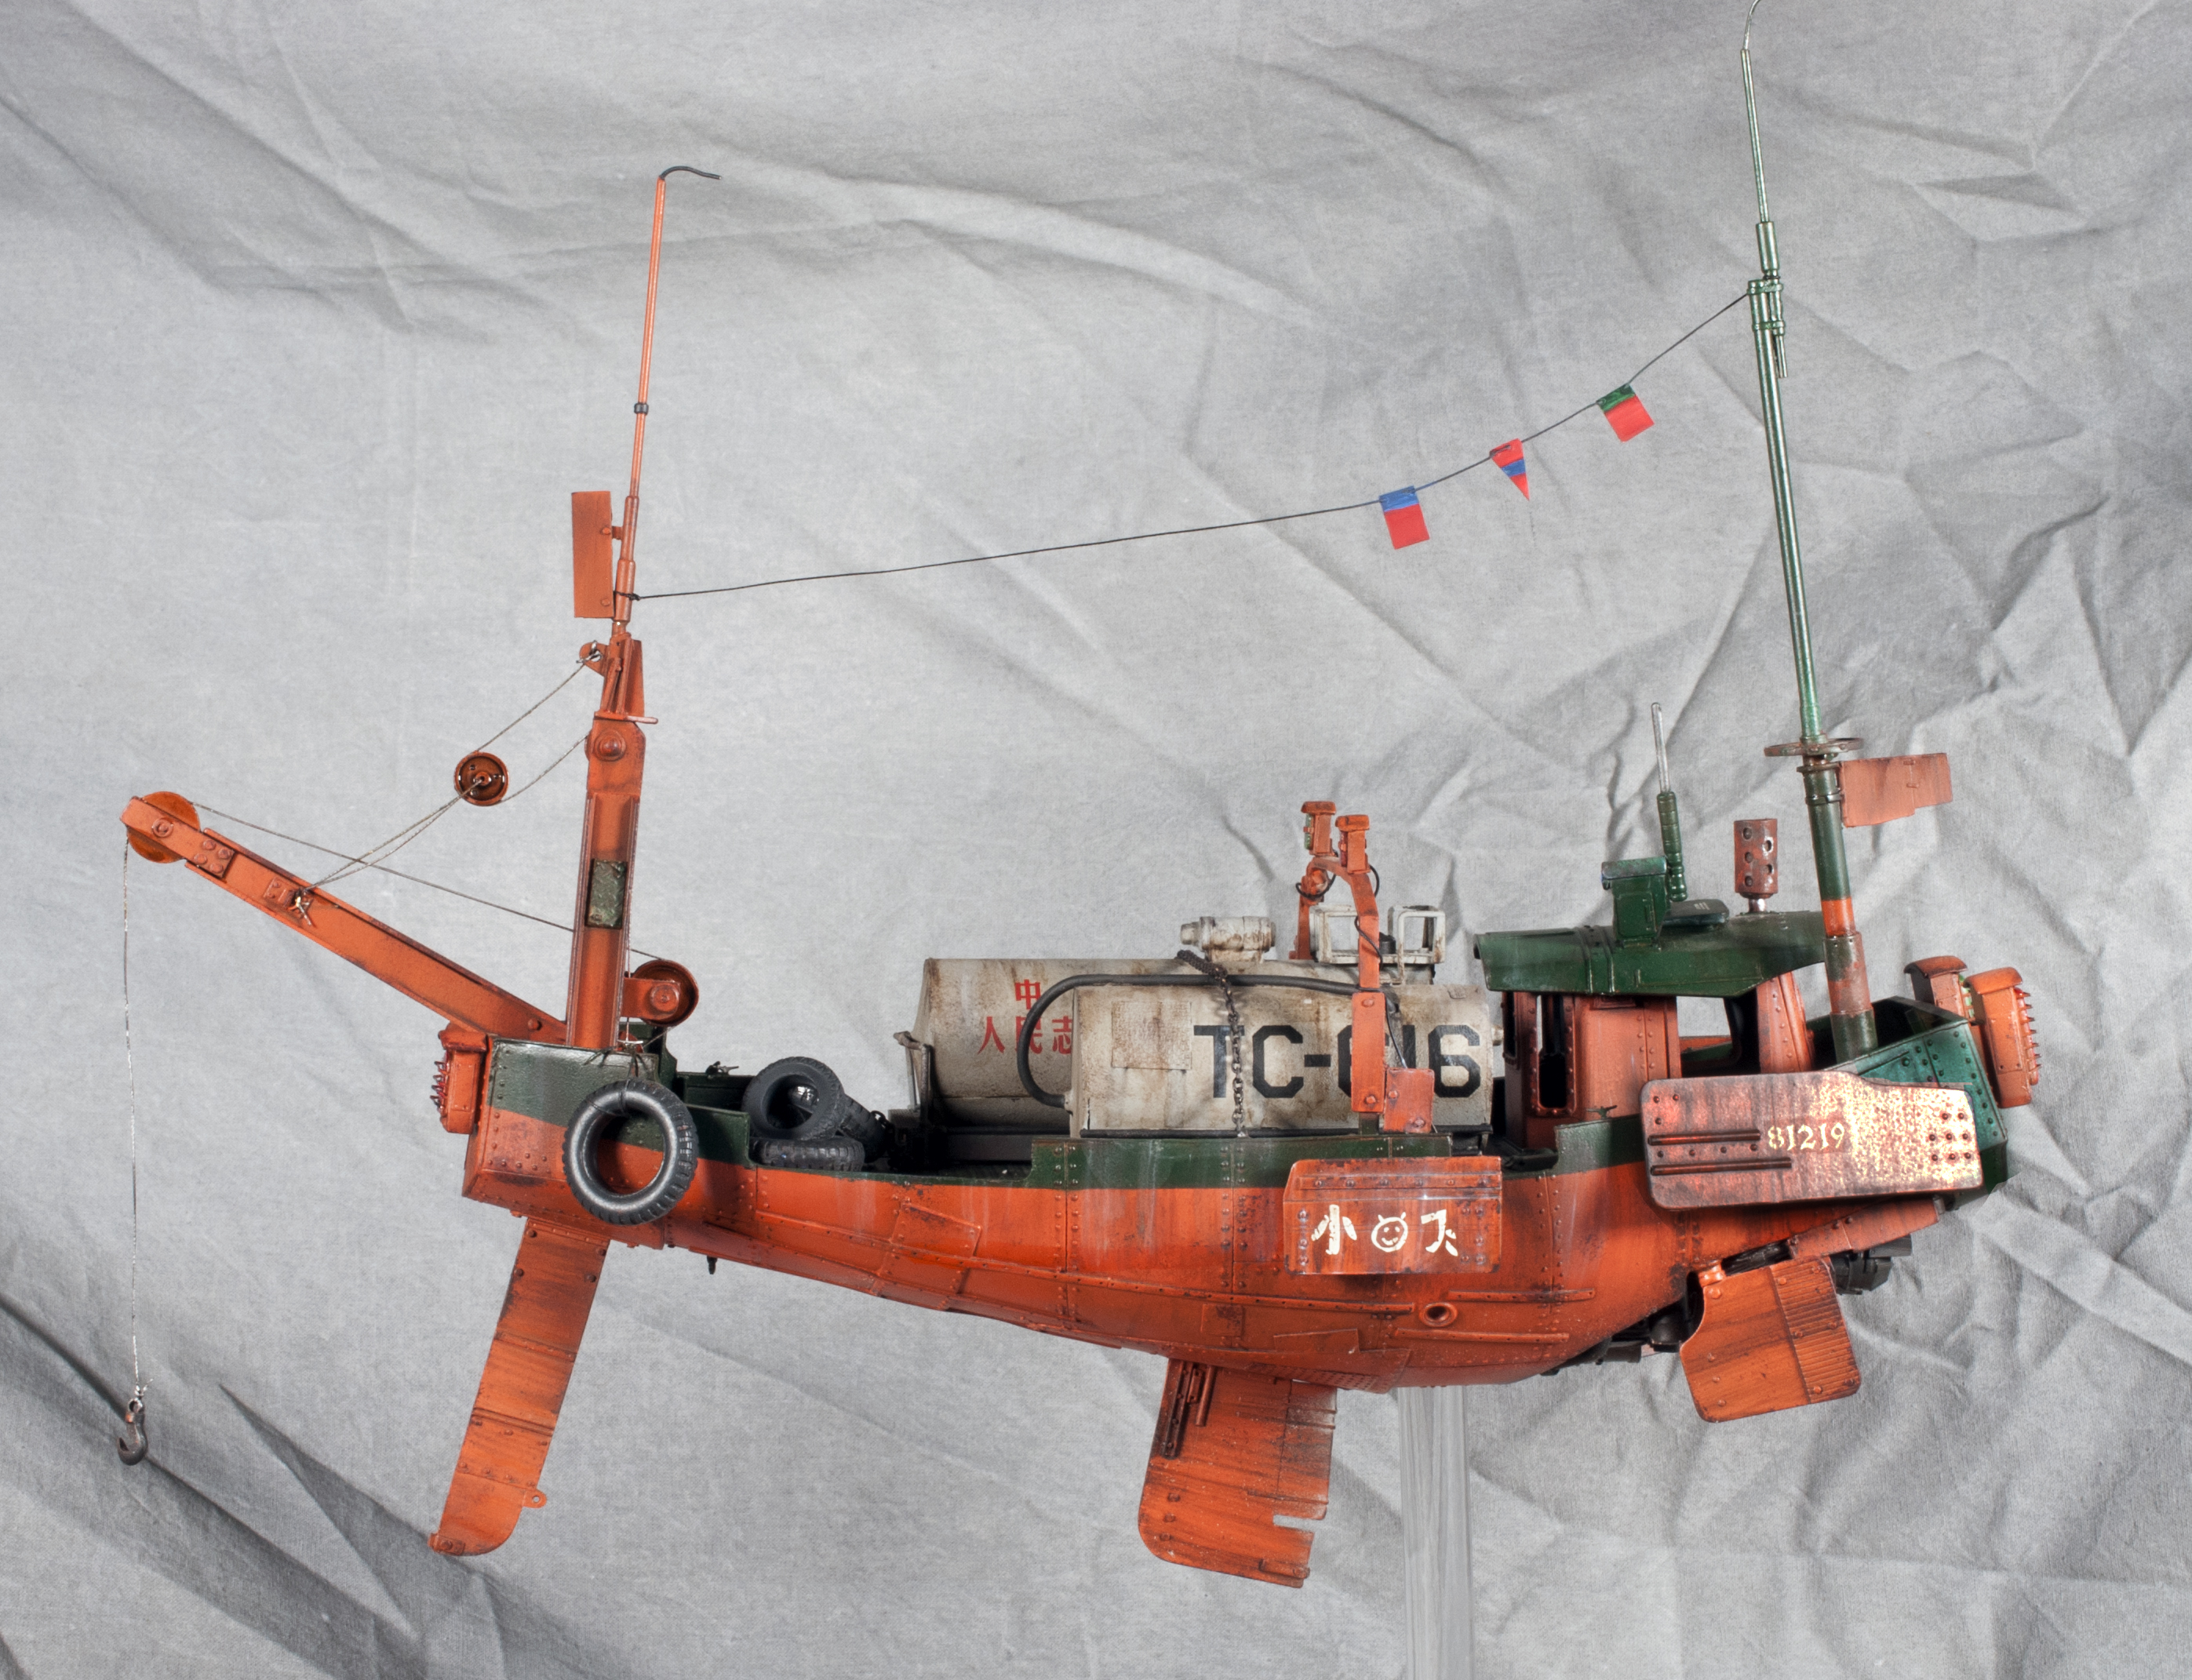
The Gas containers, or whatever those are supposed to be were made from an old HO scale tank car that I cut in half. I gave them a gritty spray coat and added some decals I had lying around and then weathered the heck out of them.
I did up the lights as green and red for starboard and port and that was pretty much the extent of the painting process.
The most tense moment of the project was drilling out the body of the kit for the half inch acrylic rod. I had to make another jig out of soft foam blocks and some plywood to prevent anything from breaking but, it worked without damaging anything.
All in all I’m incredibly happy with this kit, and I can’t wait to build up more stuff from this growing company.
To add a plug, check their page out at, http://industriamechanika.com/blog/.
Enjoy!